
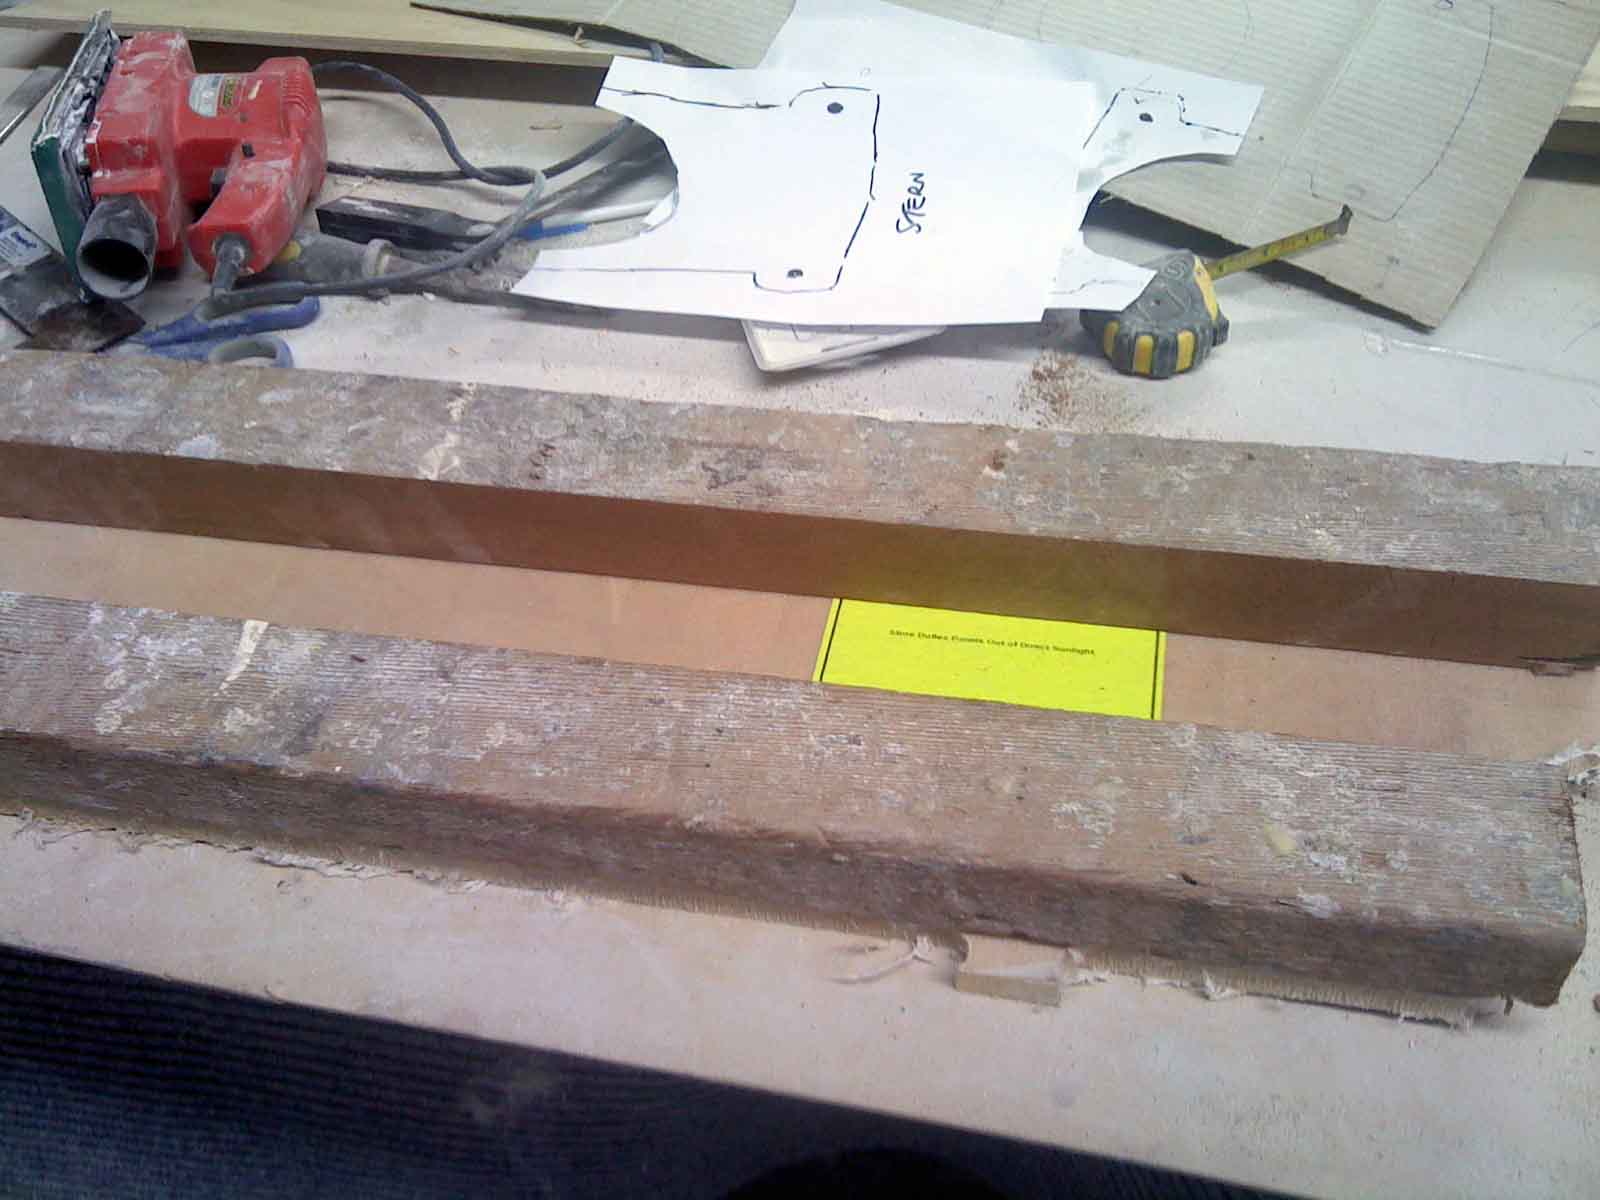
During the week, the only boat work I did was to re-assemble the Muir windlass I was given and test it. (I had been given an older Muir winch that had not been operable for about 5 years because of what turned out to be a stripped gearbox so for $350 replacement plus $250 for 2 waterproof deck switches and a reversing solenoid I have a fully working windlass). Dennis (Nine Lives) originally took it apart for me and now I helped him put it back together so that I would know how to strip it down in future. Apart from a tight fitting axle it went back together fairly easily although we damaged the thread on the wing bolt that releases the clutch in order to free fall the gypsy so I will just need to get the edge re-tapped so it does not bind. I probably should have sanded the casing before putting it back together but its an old winch and it will also be mounted inside the anchor locker and so not be visible from the deck so the cosmetics are not so important. I will give it a light sand along the flat surfaces and repaint it before it goes onto the boat. The winch is heavy so rather than lift it around I drew a template of its base and put it away to keep dust of it.


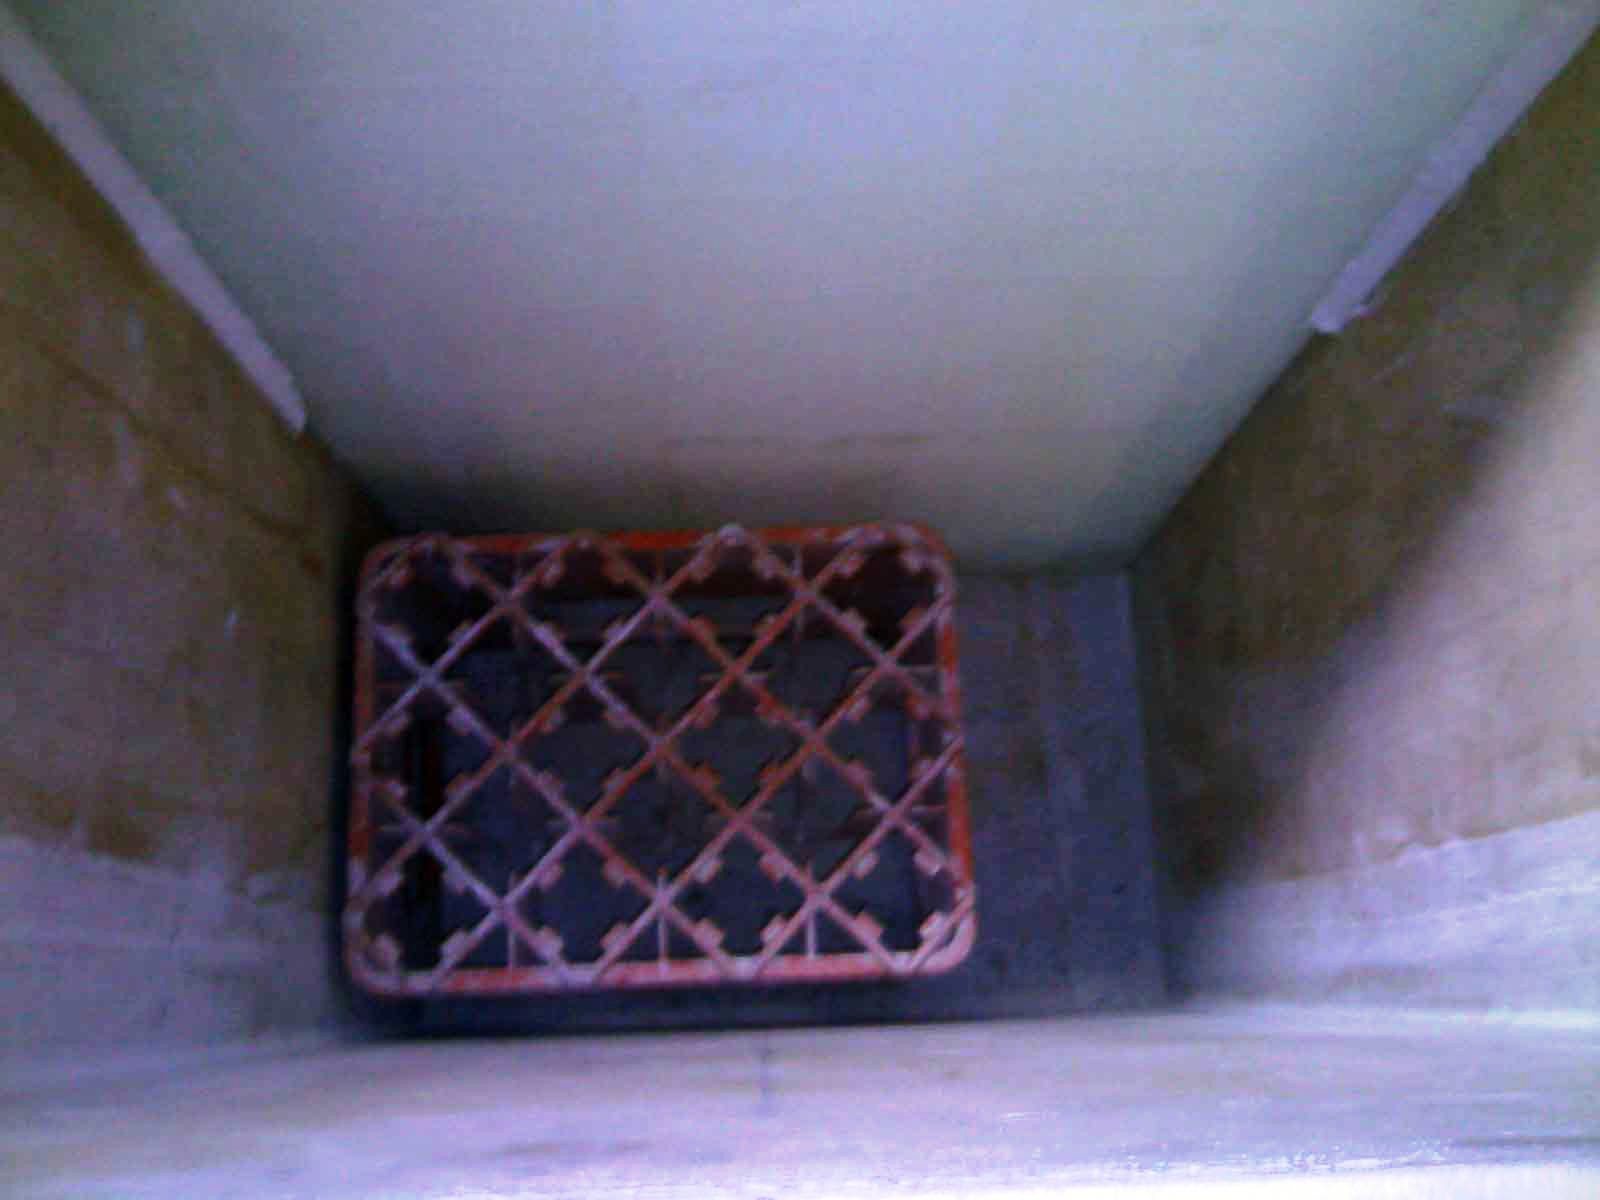
The next decision was how would I mount the anchor winch. I had already decided that the space between the bunks would make a better anchor well than the foredeck D section, as the well is deeper, has a flat bottom rather than curved, which would help avoid chain falling in such a way that it trapped chain below it that was actually ahead of it, or in other words a tangle, and being a little further back it would help move more of the weight further back from the bows. I had also decided that because of the height of the catwalk some of the added depth in the locker would be better used by moving the windless below deck level into the well, besides the obvious advantage of a clear deck it means that the height of the winch is the same as the height of the chain on the catwalk.
The anchor winch is heavy but more importantly it will be under huge loads so mounting it into the boat strongly is a must. So I will use cedar beams to secure the platform, which I was originally going to use duflex but decided on ply, to the boat. The winch will bolt through the cedar. I will also glass blocks below and above the shelf to further strengthen it in the well. Originally I thought a fore and aft table would be a better option, but once I dry fitted a mock up it was clear that fore and aft blocked off access to the well below too greatly so I settled on a table across the boat. Its a shorter span so theoretically it should be stronger, and also enables me to anchor it to the back wall of the well as well as the 2 side walls. If I went fore and aft, because of the position of the gypsy and the need for a fall below the gypsy I would have had the table away from the side walls. With the table across the back wall I will need a hole through the table for the chain fall but it wont be through either cedar beam so it wont weaken the structure.


All the while I was working over the weekend, I would return to the water tank dividing walls. 2 walls = 4 sides that needed coving and glassing (and peel ply). The first side was easy enough, I had a large working in area to allow me to easily apply everything. But from there on it became a nightmare. Australian labour laws forbid me employing a small child, but only a small child could easily fit down into the space I needed to cove, then glass then the really hard part, apply the peel ply. Coving was not too hard, I was able to reach most of the time by just dangling upside down but on the last section on the bottom of what became the front wall of the last section I found it easier to extend a coving tool handle.
Glassing was next most difficult. Usually on a section like this I would run one continuous length glass down one side, around the corner, along the bottom, around the other corner and up the other side. In this case that was simply impossible. Getting the glass properly spread through the corner requires time and reach, neither of which I had hanging upside down in the bottom of a space 600mm by 400mm and over a meter deep. Going around such a corner the one side of the corner, the outside is a shorter distance than the inside so therefore you need to bunch the glass on the inside then spread it so that all glass becomes in contact with the substrate and there are no folds. I simply could not achieve this in this area. So what I did to make up for that was to glass in 3 sections, each side and along the bottom, then I made a circle of cloth and spread that in the corner so all surfaces were covered in glass and thus rejoining the tapes with wet glass and ensuring there was nowhere along the join that was not taped.


And with each wall divider I could only do one side at a time so that once set I could lean over into the space and if needed brace myself against the walls anywhere I needed or lean over the wall I was taping. I could not do this until at least one side was coved and glassed and it had set or it would move before set. So I did one side Saturday Morning, another on Saturday afternoon (6 hours in between) and the final one on Sunday morning, having already got the easy one done last weekend. Each side took about 2 hours from start to finish. I still have to glass in fore/aft dividers to strengthen the structure and make the free surface area smaller but these will only go down as far as I can reach into each tank (about 2/3 of the way down leaving about 300mm at the bottom) and I wont do them until I have already painted most of each tank with the food grade paint so that I dont have to find a way to paint them after and not miss any sections, painting the bottoms and sides first will ensure this. I can even pre-paint the dividers up to 100mm from the ends and the tank fronts and backs that the dividers will be glassed to and leave a 200mm strip down the middle to glass the dividers, meaning I would only have to paint the tapes to finish and be sure all epoxy surfaces had a coat of leach free potable water paint.
As I said earlier, getting the peel ply onto the wet glass and smoothed down with no bubbles (any bubble in the peel ply is an area of glass not pre-keyed by the peelply). Again I did this in 3 strips of ply, the sides were fairly easy as I had gravity to help but the bottom strips were another case of dangling upside down, the difference here is that upside down I needed 1 hand to hold my weight and the other to work, but for anyone that has ever tried to apply peel ply 2 hands are not enough let alone 1! The reason I need peel ply is that I dont want to have to sand any of these tapes, I just want to apply about 3 more coats of epoxy and then paint, but if I dont have pre keyed surfaces that peelply provides (epoxy wont stick to un-keyed epoxy) I will need to sand them, in an area I cant reach even if I climb in, I cant turn my shoulders in the tanks, I would have to guide the sander with my feet but would not be able to see what I had done, so I would have to do them upside down (and of course once I glass the divider in there is no way to reach into the bottom of the tank, other than with a mop or anything on a stick.
In between all of that I finished fairing the vanity front after a third sweep of bog using a flexible batten to ensure I was close to the final shape. In all I have spent about 3 hours fairing the vanity front. It is about half a meter square and give a good idea of the time needed to fair a 12 meter x say 2 meter surface of each hull topside (from hull to deck join around to hull centre line). That’s 24 meters each hull, so 48 meters and half a meter took me 3 hours, that’s about 300 hours! Just on the curved hull sides! Yikes!
I also started on routering the doorways to remove the core ready for uni ropes and fill and scavenged the last pieces of 12mm duflex I have left (besides the door cut-outs but I am reserving them for, you guessed it, doors!) in order to glue them together to form a shelf in the port side walk in wardrobe. I don’t need to have a 25mm thick shelf top but it is at the same height as the vanity top in the starboard hull so for symmetry I thought it worth the effort. Under this shelf at 900mm will be another shelf against the forward bulkhead but along the hull side (inside hull below the chamfer) will be a wedge shaped draw or bin hinged from the floor with a flat front, an idea I saw on a Farier41 cat Alcatraz for best use of the space shape created by the angle of the hull side and the plumb front you would normally have on a cupboard front. The top of the “bin” is wide, the bottom very narrow and hinged so it slide forward at the top. A shelf under a top in this area would be practically useless as it would only be about 150mm deep and below it receding down to nothing. In a walk in wardrobe such a bin could store socks, shorts or t-shirts etc.


