
It is now 2 years since I first put the current pureseal sample in the water. For those that have recently joined Pureseal is a new kind of antifoul more like a clear silicon paint with no metal in it that inhibits growth because it is slippery rather than because the grow is repulsed by the surface. The first sample was a dismal failure which after just 9 months in the water had more growth on it than the pier pylons and the growth was sharp and immovable. This first sample cruelled Pure seal’s reputation worldwide in fact I think the original company had to close. Someone else took over the company, revised the formula and I decided to give it another try. This second sample works. After 2 years in the water there is no doubt about it, it is not only still working, but somehow the sample is cleaner now straight out of the water than it has ever been. There has been some storm activity here recently and perhaps the rough conditions and water flowing past the sample have resulted in the slime (algal) growth that I usually get was cleaned off naturally. Perhaps this is indicative of what a moving hull would be like and that motion (as the makers claim) really does aid cleaning of the hulls. If you want to check it out my various results for yourself go to the building logs and open the months of the season over the last 2 years (Dec, March, June, Sept) and see the progress of the test. I think by any measure 2 years in the water and the surface as clean as the first day has to be called a success.


However, I have just 2 reservations about it. I would like 3 years to be absolutely convinced so I will continue to monitor it for another year before making my final decision about whether to put it on my hulls, and then just one other small reservation. The importers are still hesitant because the first time they sold it they had to pay for a number of boats to be re slipped, sanded and have other antifoul applied at considerable cost. This stuff must be sanded off for anything else to be applied except for another application of the same so I would want to be sure I could get more in future or at least to be able to buy enough now to apply now and perhaps again when it finally starts to fail (who knows it may even fulfil the makers claim and still be working up to 10 years).
I did not get much done today. I popped the 2 roof liners off the roof, they were still not fully cured on the underside, perhaps because the glass was against the sticky tape and could not get air to cure so I stood them to set harder. They are big panels and a little heavier than I thought they would be and perhaps might need to be cut in half again to be both easier to handle on and off the boat and to be properly upholstered but my main concern would be that they can be held up against gravity to the roof (once upholstered so even heavier) as single panels held up with Velcro. Perhaps half again would be better all around. Being big they are also still a little flexible and although they may harden more as they cure over the next few days, again perhaps smaller panels will retain the shape and be stiffer. Having said all of that I am still quite happy with the way they have worked.

I then spent a little time on a rather fun job. I made a cardboard template (well I made 3 before I was happy with the shape) in order to set the cut out curve of the cockpit roof where it cuts inboard as it passes out over the cockpit. This curve creates a space at the helm to enable me to stand at the helm and see over the roof to the port side and forward (although how much vision I have will change once the roof actually goes on) whilst still providing shelter from the elements. Once I have decided on the curve for the helm the same cut out goes onto the port side for symmetry. Like all things this compromise between the amount of shelter (less cut out) or more room to stand and steer (more cut out) is a personal one. There is also one other consideration. The point where the cockpit roof sits along the side above the seats along the side is also important, too far over the seat and stepping down from the hulls onto the seat and then down onto the cockpit floor is impeded by the roof so that you have to twist (limbo) down under it, not far enough over the seat and the seat gets no shelter from sun or rain. I am still not sure I will be cutting enough out of the sides, I may have to cut in another 100mm or so but I will need to err on the side of caution first then trim further I think. It is easer to cut some more out than to cut too far and have to glue back on! But at this stage I am only marking lines and checking them for fit and practicality before actually cutting anything.


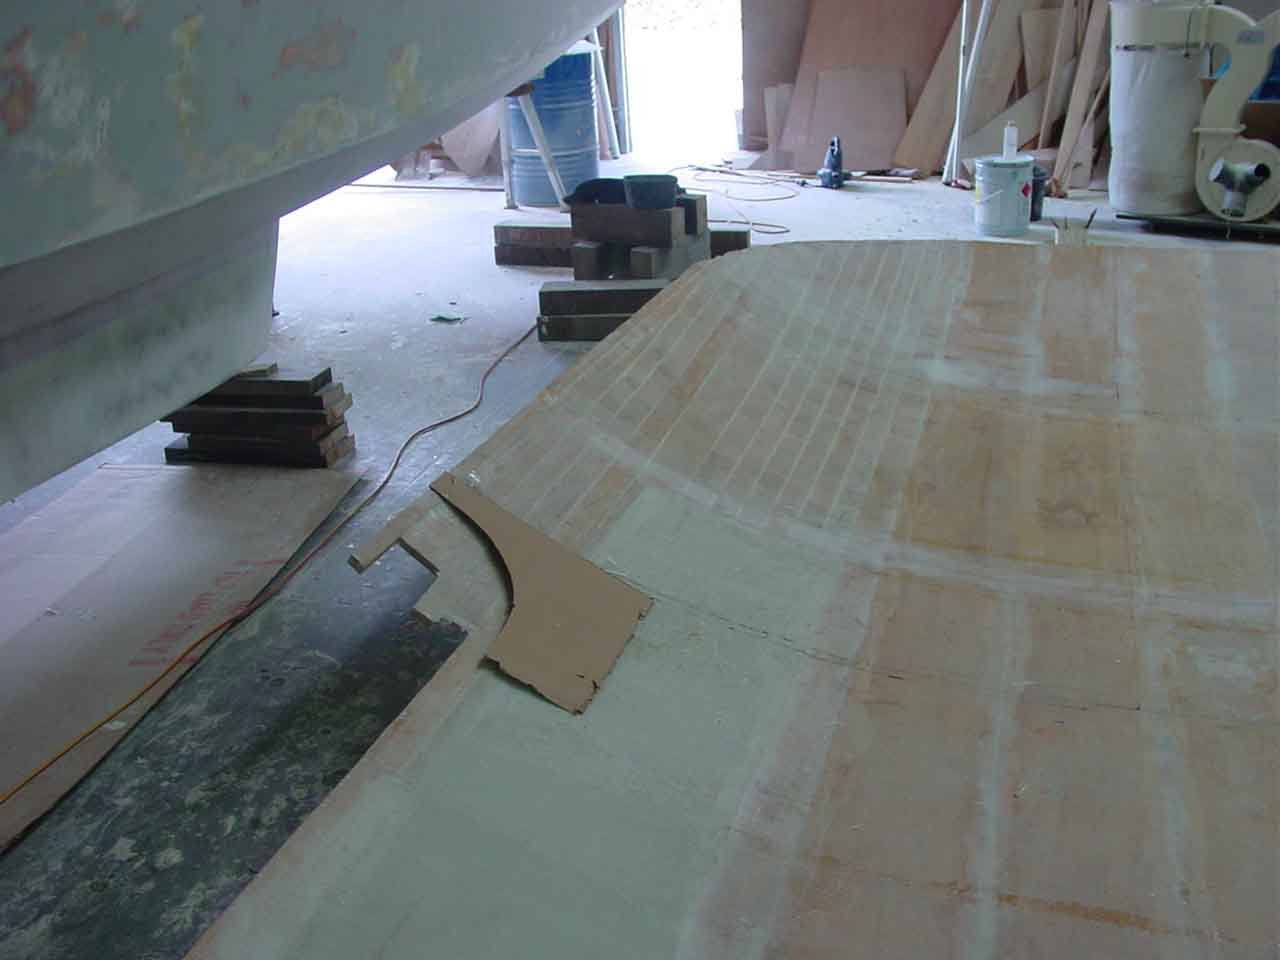
Before I had placed the cardboard template against the roof I was a little concerned that I had perhaps left the overhang at the sides a little short in my lack of material, however as soon as I saw the template against the roof I saw that I have judged it well, not much waste but enough overhang to clear my cut-out. I may in fact need to cut in deeper but I will clear the overhang and have room to cut to shape.
The reason I wanted to mark this out is because I will be adding another layer of roof using the nidacore to the underside of the cockpit roof (to add stiffness to the cockpit roof overhang) so again I want to know where I will be cutting the excess off so as to be sure to glue enough to cover the roof area but not have too much waste. I still have to set the rear edge position of the roof (how long the overhang will be) so that the same issue of being able to step down into the cockpit without the roof getting in the way but ideally I would like the roof to cover the rear seat far enough so that standing on the rear seat you can lean on the roof. When I glue the extra roof layer I will leave it about 300mm short of the bulkhead so that I can glass the actual roof to the bulkhead, then add in the last 30mm over that tape then tape that again. I am just a little concerned that I follow the actual structural plans to the letter.


