
Not much to show for the last couple of months because sanding is hard to photograph. So its not that I havent been working damn hard on the build, its just that I have not been updating the blog. I know I should, but as I said, the pics dont really show the progress I have made. No excuse. I will try harder to keep this up to date more often.
And although for various reasons I lost almost a month over the past 3, I am still close to my original schedule, thanks mostly to Terry helping me sand and fill. The main reason for the lost work time is (warning rant coming) how hot it has been over Feb and March. If the temp gets to 30 degrees outside and is sunny then it is at least 5 degrees warmer in the shed. That’s not the government’s past and present’s fault. They did not choose my shed. They have however dithered for over 30 years since scientists first started warning of climate change and global warming. Dithered is being kind, bribed by the various vested interest lobbies to do nothing is more accurate. 2015 was the hottest year since records were first kept, and 2016 is already shaping to be hotter. Surely its time, all around the world, to start closing coal fired power stations, stop subsidizing oil companies, and start pouring those subsidies into alternative sustainable energy research as just the bare minimum, and lets get on with fixing the mess we have created. And if it costs us a little more at the bowser or in our electricity bills then so be it. And dont even get me started on the bleaching of the Great Barrier reef. Ok rant over, almost.
Another part of the reason for not getting to the shed is Jo and I took a week off and went to Melbourne to visit family. On the way we passed these…

…. and it reminded me that last year our now ex PM and ex Treasurer both said that these were a visual blight and a disgrace, whilst de-funding clean energy initiatives and unwinding the previous governments modest attempts at climate protection, yet coal fired power stations were quite ok, in fact the PM said coal is “good for humanity” whilst pushing through the worlds largest coal mine that will be shipped out via the great barrier reef. Surely its time for new thinking in our body politic (the economy is NOT more important than the environment. Period) and that we owe it to future generations to start repairing the years, decades of neglect we have collectively indulged in.
And to tie this all in and in the interest of full disclosure, our new home is 500 meters across the water from what was once Australia’s largest coal fired power station. Vales point. I figure, even without a major change in attitudes it will close within 10 years as it is now this states oldest. The consortium that bought it only agreed to keep it open a minimum of 7 years. It doesnt bother us its there, the air still seems clean, and other than the lights we can see at night, it does not intrude on our personal enjoyment but for the good of all, it has to go the way of all dinosaurs. At our end of the property market, it wont make any difference to our value and even if it cost us value we would prefer it closed.
This is what we see from the end of our street, about 100 meters from our door (we can see where the boat will be moored from our lounge room)….

And this is our lounge room and bedroom….. 

(Jo likes retro furnishing, google Mid Century Modern. I did the wallpapering and the floating floors and painting, Jo chose the colors, which also accounted for a couple of weeks of no boat work.)
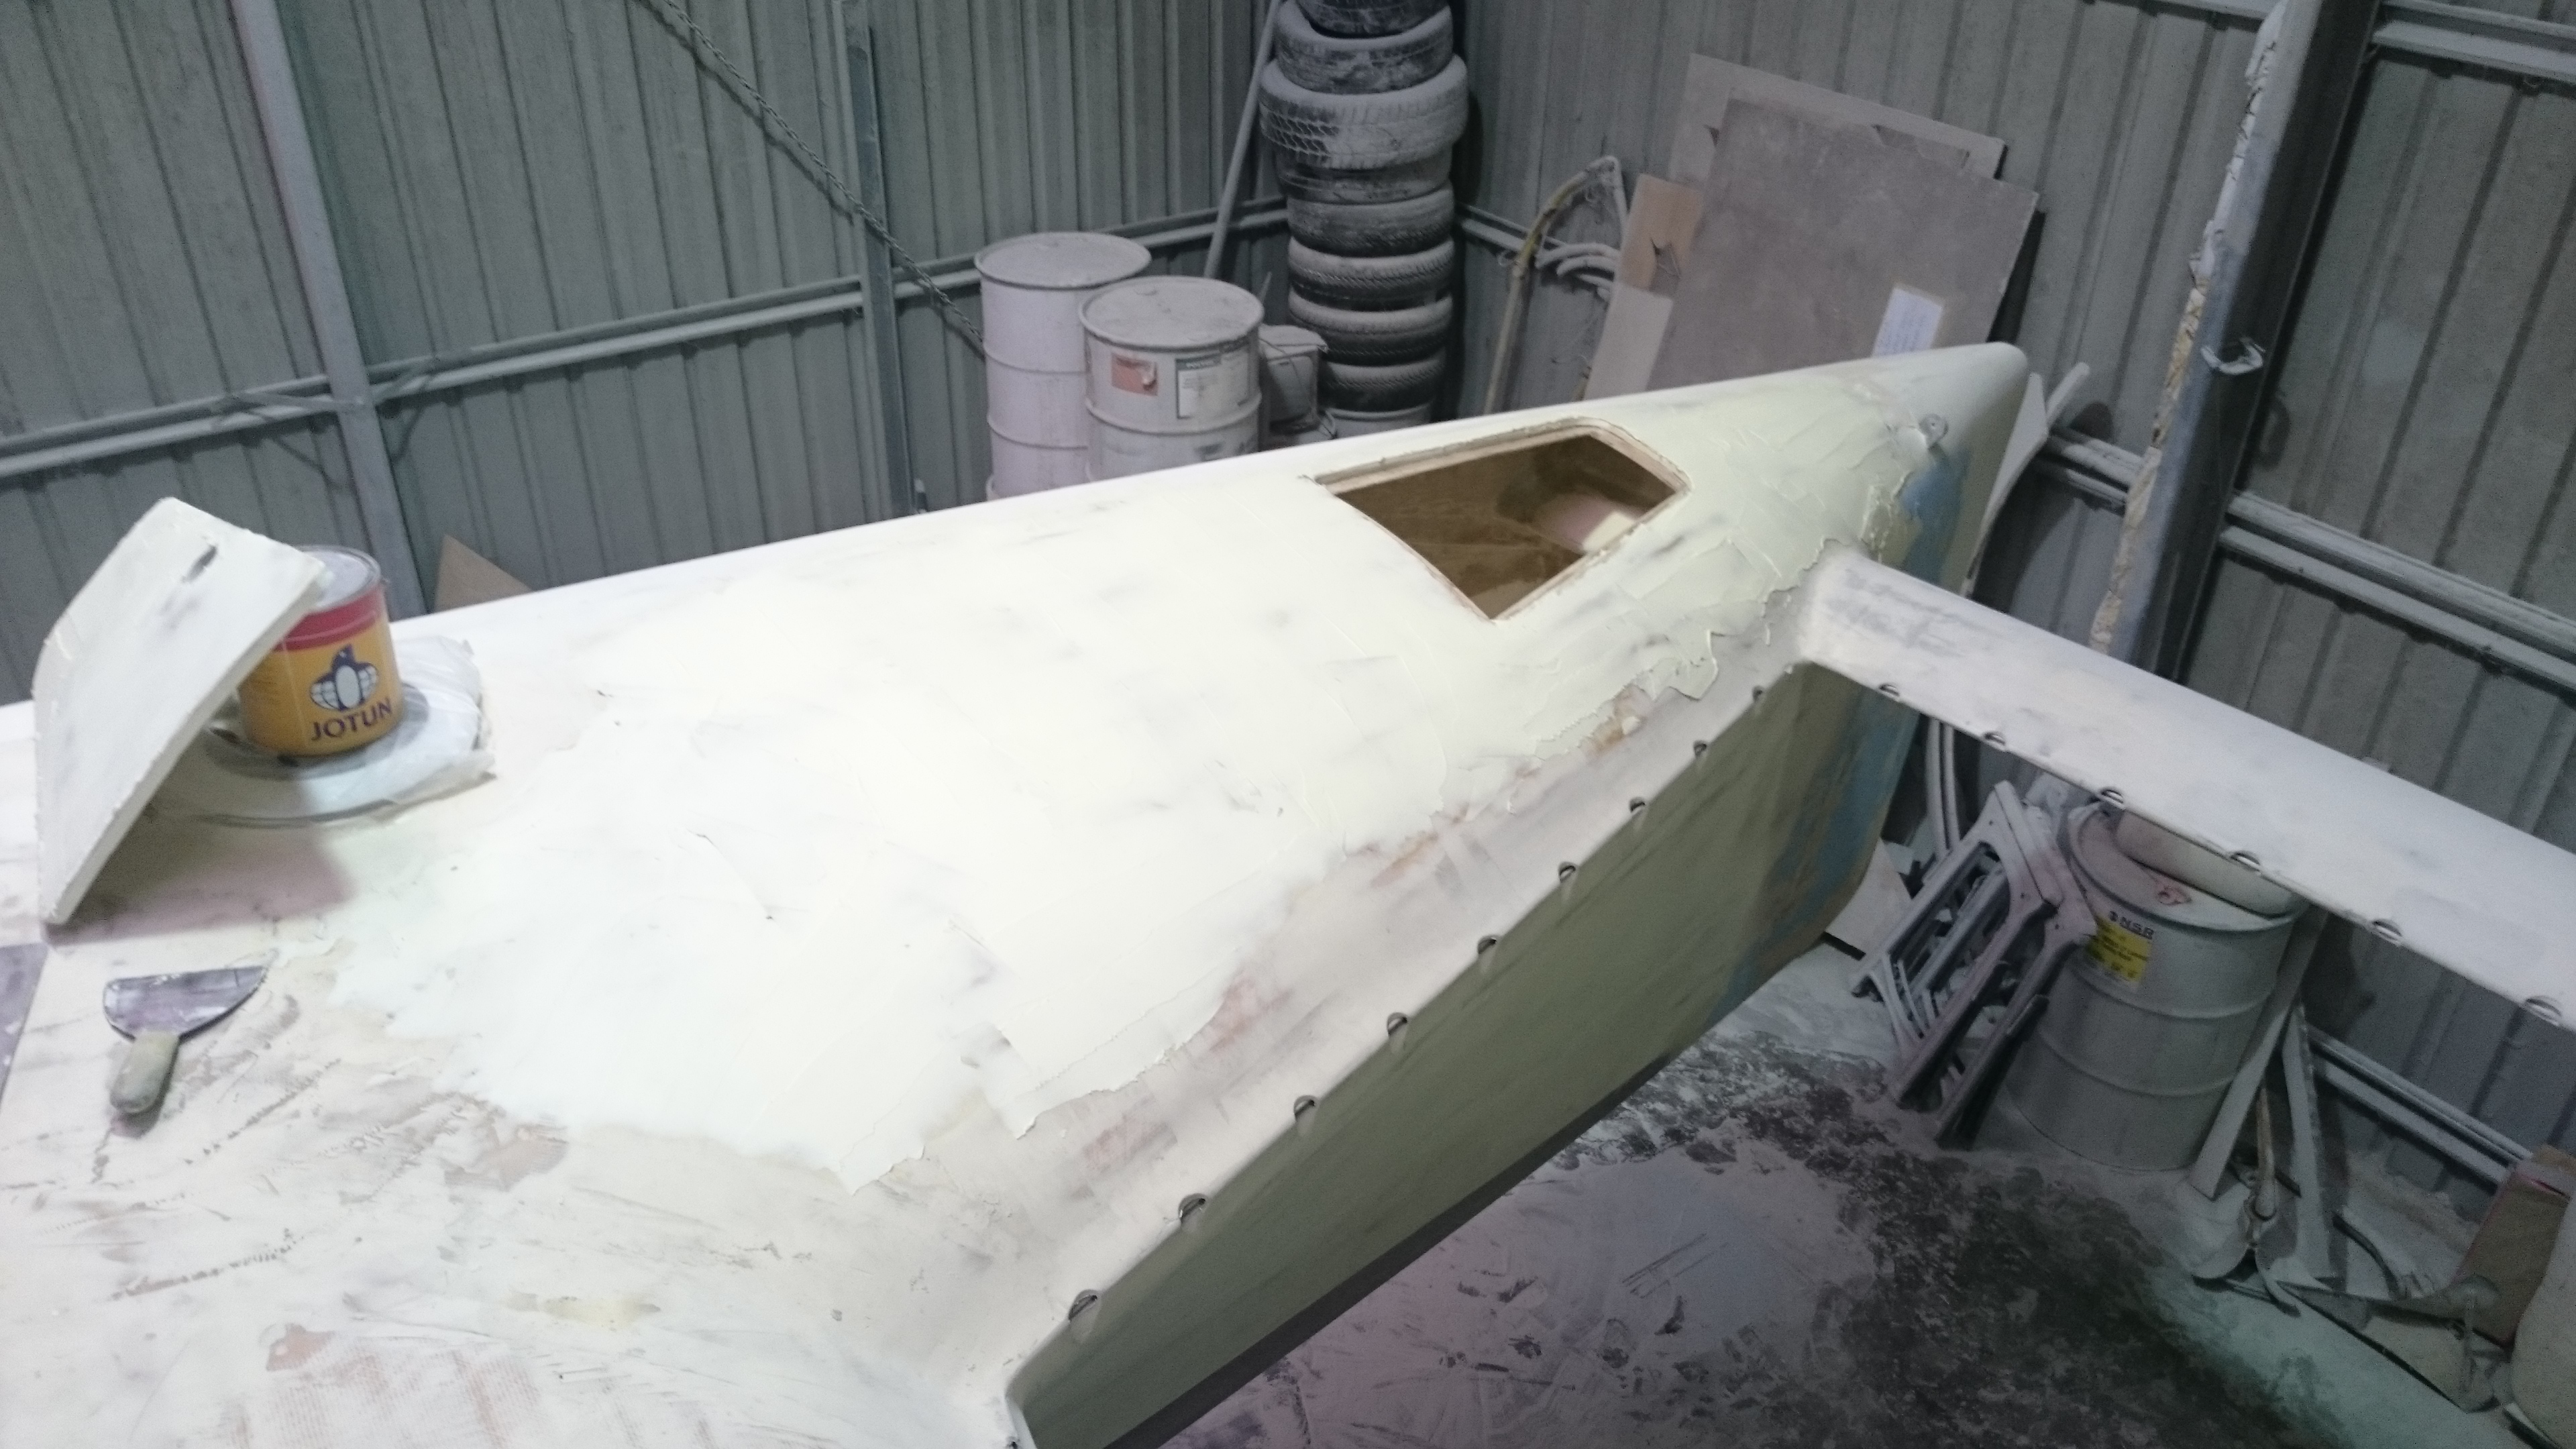
To re-cap where we are with the boat, I set a timeline on where I want to be with the fairing this year (fairing and painting is pretty much all I am going to do besides the essential mechanical fittings such as steering, outboards and windows) before launch, the rest will get done on the water. I left off fairing the curved hull to deck turns, they are now all done. The hull sides were already done, but now that other parts are coming fair I want to give the hull sides one more going over to smooth them even further before the microsurfacer goes on (strategy being to try to get the most visible feature, the flat sides as shiny fair as possible and not get too hung up on the rest). The inside hulls at the bows are done and the D section is almost done. The rear steps and backboard (back of bath) is bogged but not yet sanded, and the decks are all bogged and some parts sanded. (I skipped the aft sanding for now, only because its still so hot in the shed and the decks are easier on the body than having to lift the sanders above your head).
So some detail. The hull to deck we covered, I used the notched trowel method, faired the tops of the beads, backfilled, then faired the entire surface each side. Pretty happy with how they turned out (and part of the reason I am now not so happy with the sides).


Then after applying bog to pretty much every outside surface that didnt already have it, with the only exception now the cockpit, we (Terry and I) moved on to the inside bows.
The inside bows are difficult to explain. The flat panels twist to form the hull shape which creates both convex and concave in the same panel. Extremely difficult to fair because there is no true direction, its just a shape. Its beautiful by the way, I often find myself staring at the way the designer has accomplished this out of a flat panel but a bugger to fair.
So we dont try. We are using an air orbital sander and aiming for smooth (and matching!). Each area takes 2 bog runs, initial, then sand, then spot fill then sand. The inside bows are only really noticeable for about a meter as they disappear under the tramps, and from the D section back is only ever going to be visible if the boat is out of the water, so the underside whilst painted, the paint is for surface protection not aesthetics.


Then I moved on to the D section. Because this is curved in a uniform way I used the notched trowel method. Sanded the beads, back filled then we sanded the full bog area. Its hard work. By far the hardest section on the boat to fair. Upside down over the shoulders is very hard work. Terry after a morning sanding the D….


The goal of the D section fairing is to remove the hard chines (imagine the edges of a 50c coin compared to a 20c) created by the kerfs. The bead fair stopped once the surface was reached at some place on the curve. The kerf lines (internal saw cut lines) visible are the high points where the bog is sanded through. That they are still visible is a sign that the minimum of bog is being left on. The panel now feels curved though, so once its all one color that chined look will disappear.
Next as I mentioned, I moved on to the decks rather than hit the stern vertical. Horizontal is much easier. Even if it is curved. In fact, even though its a flat panel boat, there are very few flat sections other than the bulkheads and the cockpit floor. The only other flats are the side decks.


Under the side windows was the last place on the turret that showed the 5mm lip created by the glass overlap of the windscreen frames. Under this edge down to the deck, about 100mm high for about 2 meters each side is now filled so the turret is now a uniform smooth surface up from the decks all around (including the remedial fairing of the brows). Quite pleased with the roof now.


Bog was thinly screeded on then sanded off again with one of the various machines. The Bohler is very good for this work. This faired out the tapes on the joins and the other highs and lows, but not to the same standard as on the hulls. Most of this will end up under non slip so I am not as fussy on this as I am on areas that will be gloss paint. I still have fine hand sanding work to do on areas that will be gloss like around hatches or along the edges such as where the tramps are tethered.


So once the decks are sanded then I have to sand the stern. Then spot-fill all over and fine sanding of the areas that will not be non slip. I still have some filling to do on the deck just in front of the steps, I had a dip in each side (port and starboard but have fixed the starboard side) probably as a result of the hip fix I had to do, not sure, but in the middle of the deck for the last half meter there was a 10mm dip each side. Bog is wonderful stuff, it fixes pretty much any mistake you can make.

So in the next few weeks I hope to have the last of the boat except for the cockpit, sanded, blemish filled and sanded again, ready for microsurfacer. Then I will get a start on the cockpit. It is fiddly, but not as physically difficult. And only the vertical surfaces need fine fairing, the horizontals will be covered with cork. With any luck I will have the boat all one color for the first time, some time in May. Then we will really see how close we are to paint.


willem swart
I have been visiting your site for a couple of years I thought I would leave a comment to thank you for spending the time to post.What you are doing is inspiring and a pleasure to watch .You might have even made me consider starting a build myself .I must just add the most important thing I have learnt from this site is persistence great job .
Thanks
Willem
webmaster
Thanks Willem, perseverance or persistence is an important ingredient, even fast builders take a number of years and a lot in life can change in that time. And I should add, without trying so sound overly modest, luck too plays its part.
Luck with good health in particular. Recently a friend and fellow builder sadly passed away. There but the grace….