
Apart from a dry fit of the top to the bottom of the beam I didn’t do any work today on MM. I will try to fit the u-bolt into a timber pad and glass that in tomorrow. But today, Warren and I did some more work on the dingy.
We decided we did want to add a chine. It added a bit of work (about 4 man hours, 2 hours x 2 people) but only on the first boat because we had to work it all out and establish the size and shape of each panel. The extra chine really does make the boat look better. It takes the hard edge off and softens the look of the boat.

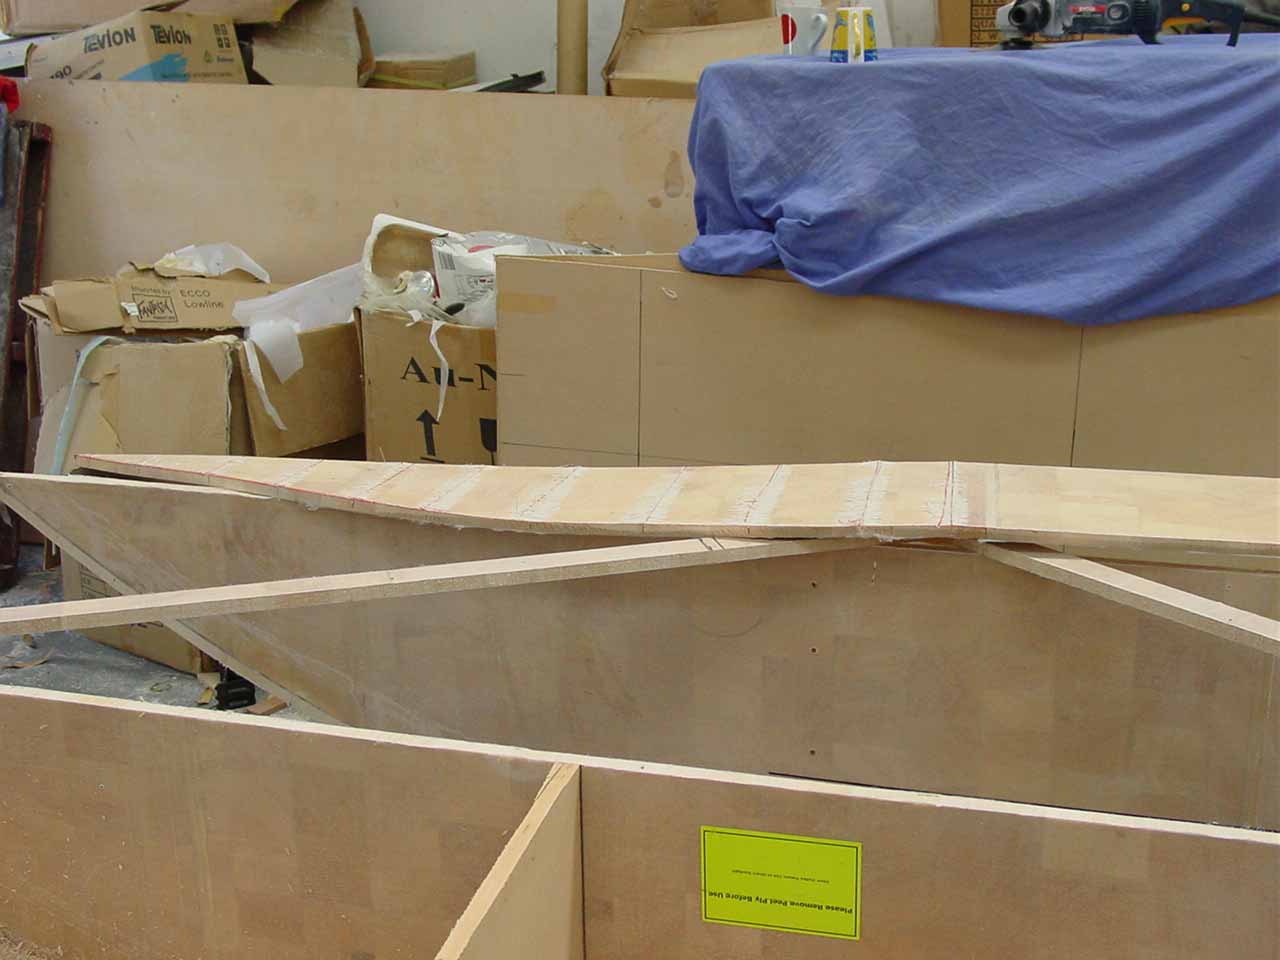

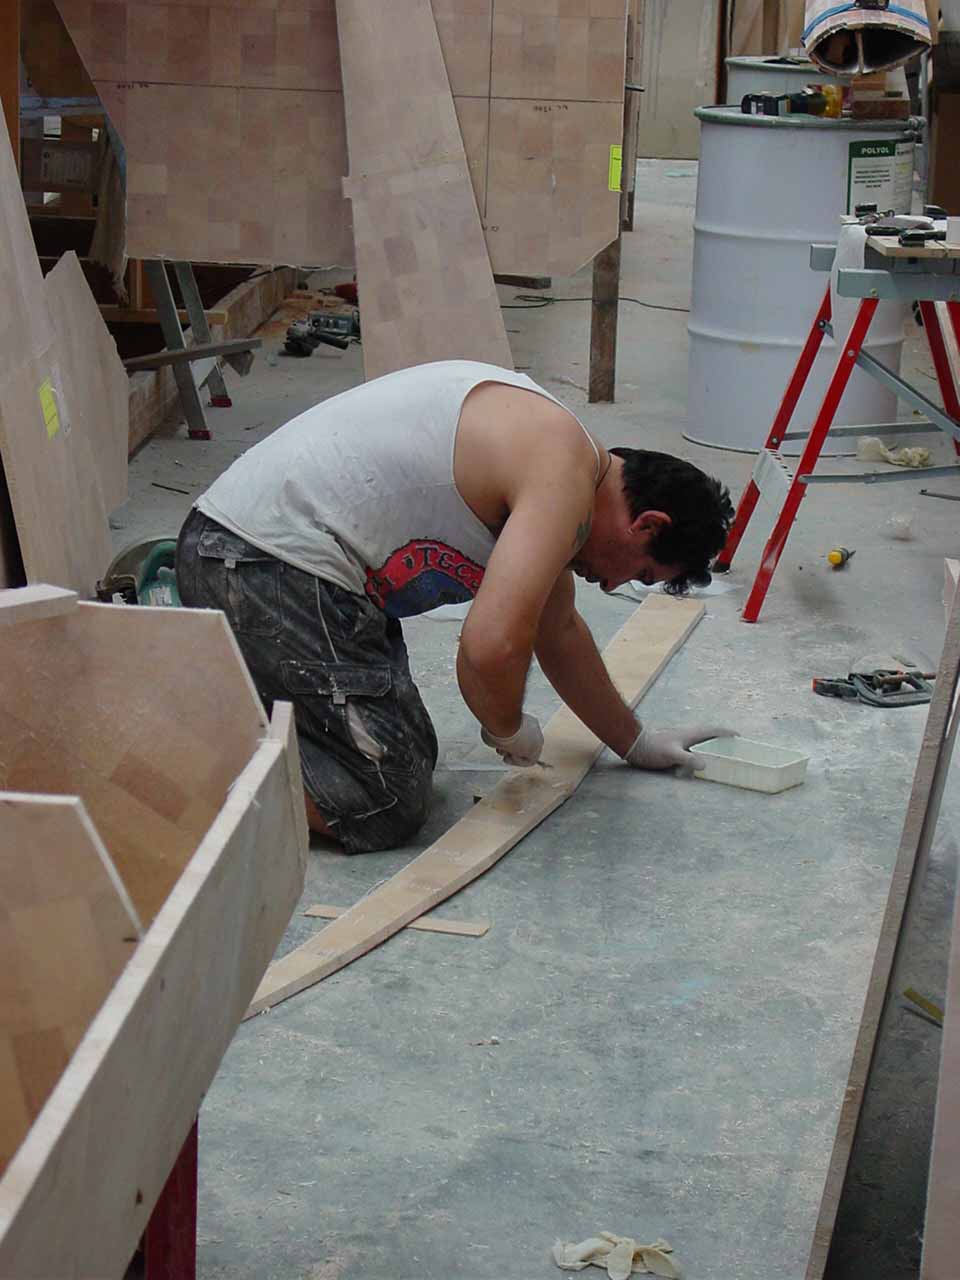
We started by cutting the chine into the bulkheads (including the temps). We then made the now smaller hull side panels and scored them for curving. I remembered today that the proper terminology for this is Kerfing. The scores are kerfs. I had some fear about kerfing. I thought the kerfs had to be properly placed on the panel and that there was some formula for working out where they go. Not only is it not so scientific, you can just run saw cuts at guessed spacing and angles and you should be able to form the curves you want. Once you have kerfed the panel you can dry fit it and if needed add more kerfs. Once you are happy with the curve, take the panel off, fill the kerfs with sloppy glue, be sure to get the glue deep into the cuts and glue it to the bulkheads. Remove the excess glue and you have done it. A kerfed panel.


Once we had the hull sides on the boat we started to shape the new chine. We made a template from the 3mm mdf and trimmed it to size to make sure that we cut the correct size and shape chine panel. Once we had it right we transferred the shape to the appropriate offcuts and made our chine panels. We made them oversize and trimmed them with a plane just to be sure, but on the second and any subsequent boat we can cut it exactly to size and know that it will fit. We also made some modifications to the back of the hulls to give them some shape by tapering them down from the top. We didn’t alter the length of the hulls at the waterline but we did shorten them at the top.


As with the hull panels on MM we used blocks to pull or push protruding panels into line with each other. In this case we only needed 3mm mdf to pull them into place.


With the hull sides and extra chine glued onto the boat the next step is to glue the forward bulkhead in and then the bridgedeck (floor) or visa versa. It may be easier to glue the floor in first and then fit the bulkhead to the hull. After that we will start taping the joins from the inside of the hulls before finally gluing the hull tops on and taping the joins on the outside of the boat. Today we spent another 6 hours each on the boat for a total of 18 hours each so far.


