
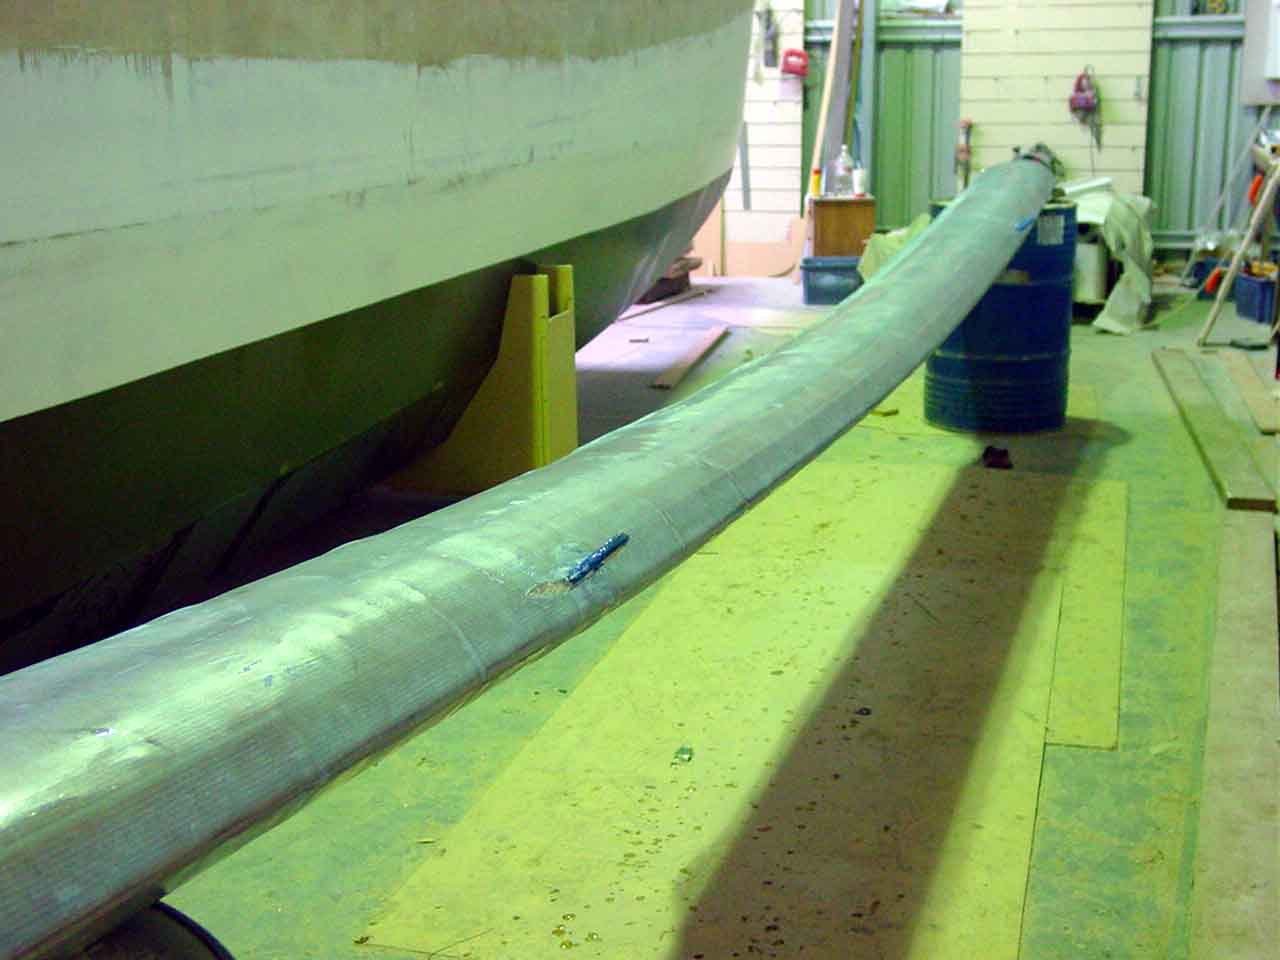
So after months of procrastination over work on the forebeam (remember I started it in January!) I have finally put the final glass on today. All that is left with it now is to trim and fair it before it can be fitted into the boat. I can be faired on the boat but it is much easier off the boat as I can turn it over and work on the underside right way up and of course I can work on the bench and not 10 feet in the air.
The glassing consisted of a layer of 1000g uni around the entire beam, although I did not have the ends overlap as the threads run along the beam so there is no need. I draped it over the beam and started wetting out one side, just my usual method, with a wide brush, than once I had one side done I turned the beam over and wet out the other side, making sure that the forward edge was well wet down with no air bubbles forming on the now underside of the beam as I went.
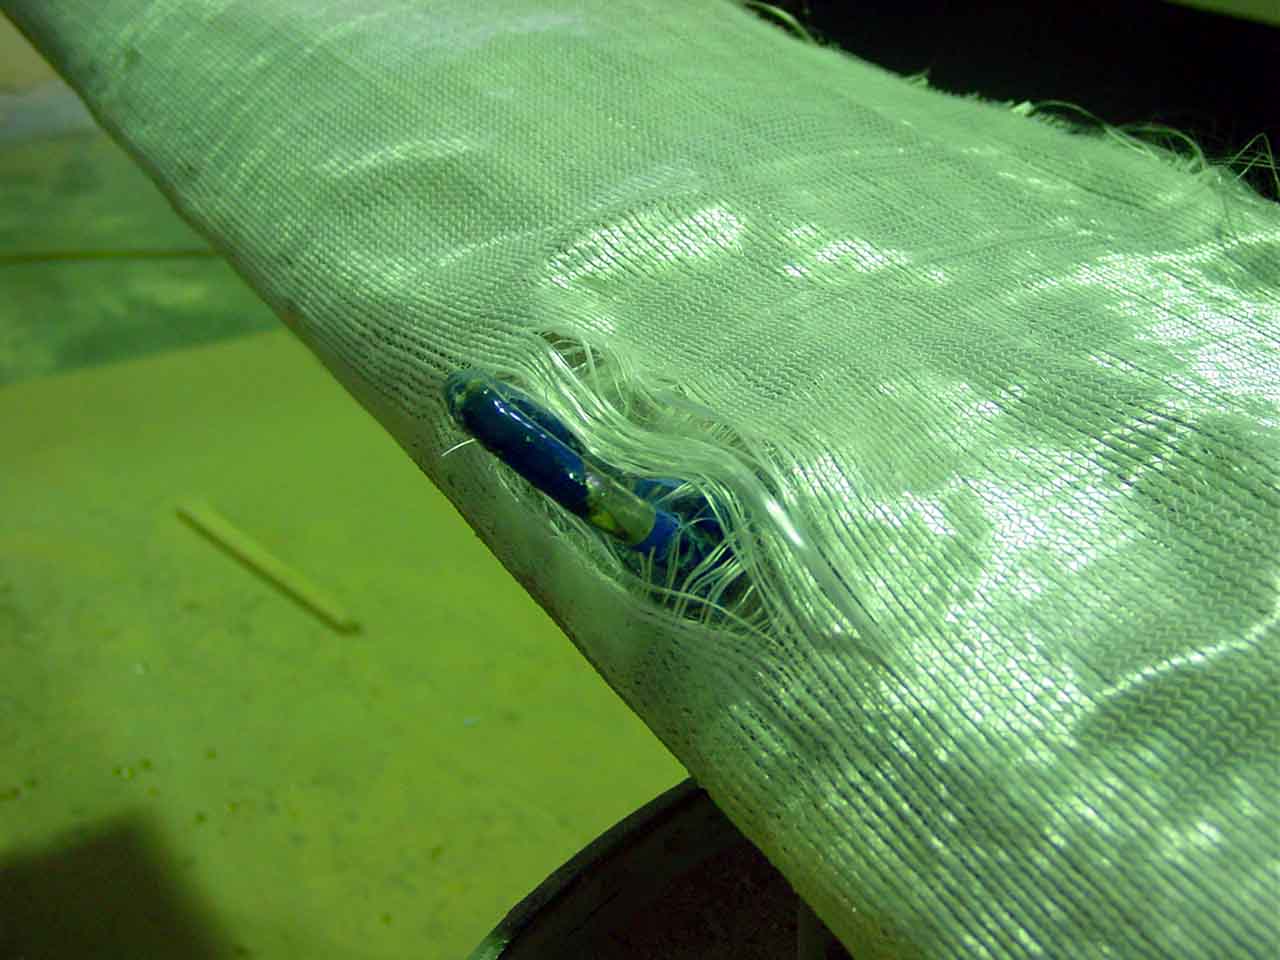
I had to cut a slot along the glass where the U bolts went through, being careful not to cut the glass just the cotton that holds the threads together. Then after separating the threads around the u bolt s I could wet it out. Another thing you must do is try to keep the threads running as straight as possible as kinks are weak spots in the transmission of stress along the glass.

Once the first layer of uni was wet, I laid the cross beam uni around the U bolts about a meter either side of them, again 1000g uni around the beam this time all the way around and overlapping in the centre of the underside. This had a duel purpose, besides acting as strength to hold the U bolt blocks in it also hold most of the tramp conduit. The conduit will not be under that much pressure and the final overlap of double bias would be enough but it all helps.
Then the final layer is the double bias. I had originally intend to wrap a one piece layer of double bias over the beam in the same way I did the uni but I decided it would be faster and easier to use the wombat to wet out 3 500mm tapes with 2 tapes overlapping the rear edge of the beam so that the conduit got 2 layers of glass over it, then the third tape overlapping the other 2 tapes top and bottom around the front of the beam and over the u bolts again with slots cut to go over the bolts. With the glass pre wet in the wombat it was a really quick job to roll it out on the beam and press out all of the air bubbles and ensure the glass was well attached to the wet glass below.
Once I has all of the air bubbles out using the special roller tool, I decided to have a go at attaching peel ply. I was not feeling too confident about it as every time I have tried the peel ply around bends such as the coves I have struggled to get a full uniform cover happening, and almost impossible to get air bubbles out. But to my surprise, the peel ply went on really smoothly and I was able to keep it quite taut as I rolled it out and could also stretch it around the beam to keep it tight both ways. Again I had to cut slots for the U bolts. They are both wrapped in masking tape (the blue color) and once I have finished fairing the beam that will come off leaving shinny steel bolts with no glue on them. The only place I had any bubbles was after the fabric had overlapped so I should get a really good finish once it comes off.
It is good to have the beam finally done. I will cut the ends off to length with a circular saw to remove the sharp ends of the wet glass and start on the fairing soon.
It rained all day today (first day of summer, go figure!) so I didn’t check on the Pure Seal samples. These new samples have now been in the water for 1 year.


