
Today Jo, Jake (Jo’s youngest son) and I put in a total of 24 man-hours and completely glassed the hull.
We took plenty of photos, but I am so tired that I will have to update the site properly in a couple of days, tomorrow the 3 of us are going to bog the hull whilst the glass is still green.
Before we get into the glassing I have to show a minor problem before the glass covers it. Under the glass on the keel and on a couple of the panels here and there I have noticed a problem (very minor) with the factory made Duflex panels. I noticed them when I was releasing them from the flat panels months ago but didn’t quite understand what I was looking at but now that I understand and have got to the stage of using the panels that were made up of the 1 bad sheet I can explain it.
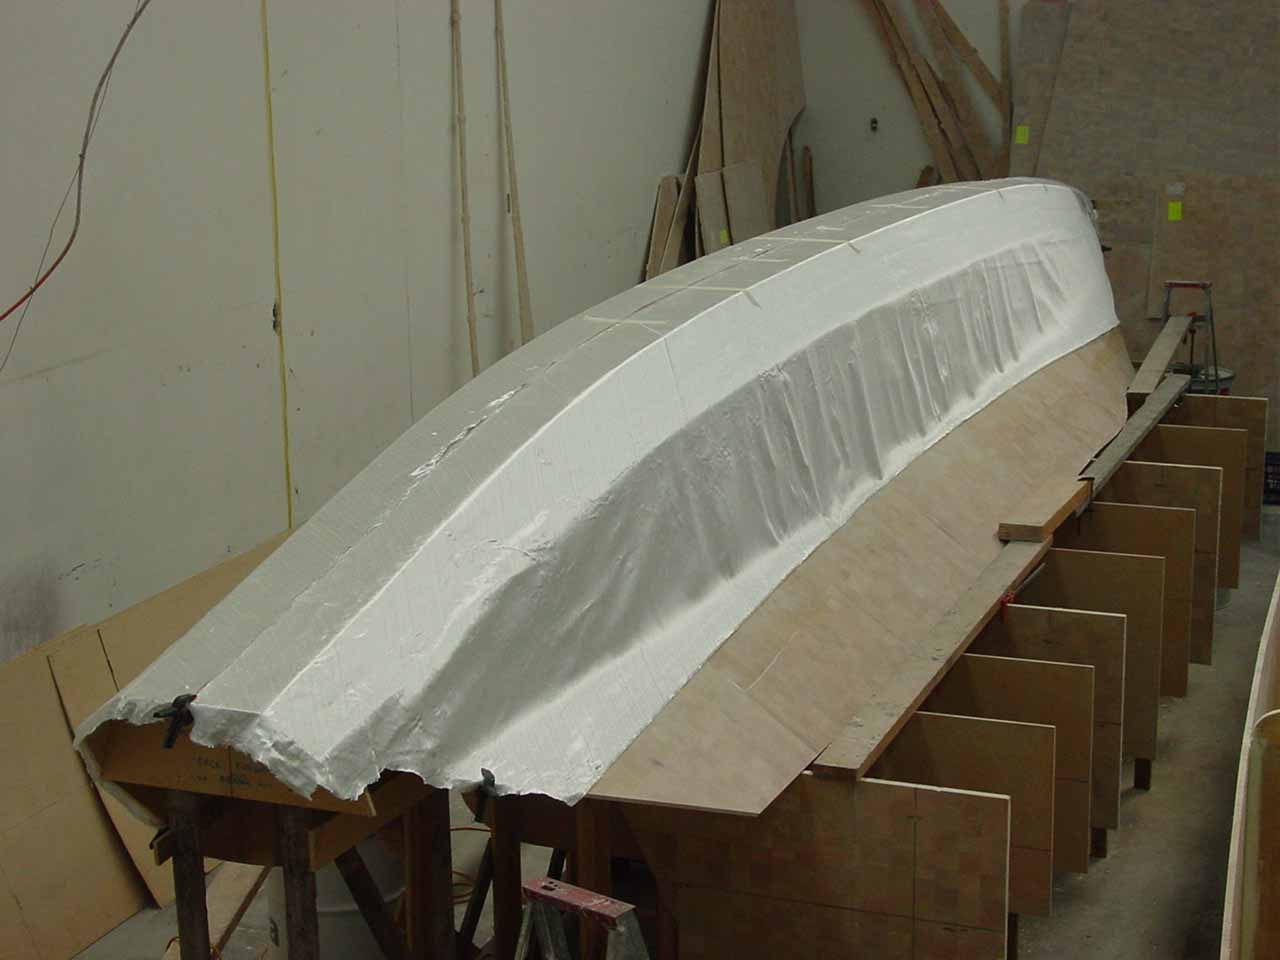
What has happened at the factory is that the peel ply had air bubble or ripples in it and as a result the peel ply was not in proper contact with the glass which resulted in a surplus of resin drying on the panel in a corrugation instead of smooth (the peel ply when correctly applied soaks up the excess). No big deal. On the hull side panels I sanded the excess resin down to smooth again, you must be careful not to sand all of the resin away. On the keel as in the photo below, I decided to just fill the ripples before sanding then sanding back to smooth at the tops of the ripples rather than remove them down to smooth.

The first thing to glassing was about 4 hours preparation, which included a clean up of all of the peel ply I have removed from the hull and piled up under it on the strong back and a vacuum of the floor, putting all the tools away and a general tidy up. Then I set up a temporary full length cutting table down the side of the hull to cut the glass to size. I cut 3 1300mm width sheets, 7 150mm tapes and 3 100mm tapes all the full length of the hull. Each length of glass was rolled up ready for use. In all this equated to approximately 64 square meters of glass (prior to trimming). Once it was all cut, I packed the cutting bench away again ready to hang the glass on the hull.
Once the first sheets of glass were hung on the hull (dry), I could trim them to shape. This included some trimming at the keel so as to have a straight join down the centre of the keel (but not overlapping) so that each 1300mm sheet hung each side of the hull, this width glass is just wide enough to cover every chine on each side of the hull. It was necessary to shape the sheet so that it sat without creases or crimps as flat as possible on the hull hence the slight trim at the keel. I also cut the excess away at the ends of the hull such as the corner of glass you can see in the picture on the right below.


We were now ready to start the wet out. I started by wetting out the keel on both sheets then I decided to start in the middle on the inboard side, then work forward, then resume at the middle inboard and then worked back, then I went to the bow of the other side of the hull and worked back along the whole length to the stern. There is no reason for this order of process, there is no set way, the glass is already in place and trimmed to size so there is no chance of getting to the other end and being short or anything like that. I do think there is a danger of starting at an end and working to the middle and then starting at the other end back to the middle again as you could end up with a big kink in the middle and then have to find a way to smooth it out, but there is no danger of that if you work from one end to the other or from the middle to the ends.
The reason I did wet the keel out over a both sides of the hull first was twofold, firstly as I wet out I removed the masking tape that was holding each glass sheet to the other so that it wouldn’t fall off the hull, once it is wet and therefore stuck to the hull the glass can no longer fall. Another reason for wetting the keel on both sides is because it is much easier to reach the keel from the bridgedeck returns on the inboard side and as you are leaning on the hull to reach you must wet the keel out first so as not to be leaning on wet glass for the obvious reasons of not wanting to get covering in resin but more importantly not disturbing the wet glass once it is all squeegeed into place. Of course if you have higher scaffold on the outboard side than I do (standing on 44 gallon drums) then this isn’t going to be a problem for you.


The wet out method is just a roller and a container of resin and just pouring the resin onto the glass and spreading it out with the roller, or when only a little resin is needed to finish a section, just putting the roller into the container to wet it and then transferring that to the glass like painting. Then once I had wet out a 2 or 3 meter section I would have Jake start to follow me with the squeegee and remove the excess. The best way to do this is to run the squeegee across the grain diagonally from the top down so that gravity also helps with the drips, but to stop about a foot short of the bottom of the glass so that you don’t have to hurriedly catch the drips, then once you have the whole section squeegeed to within a foot of the bottom you can squeegee the runs and excess resin at the bottom into a container to be re used. Besides removing excess resin the squeegee also removes any air bubbles and generally ensures the glass is bedded down well and and completely wet out (no dry spots). You must get the bubbles out while the glass is wet because once it is set any air bubbles are now a weak spot in the glass not to mention a bump that needs to be faired, and once the glass is set it cant be re wet to stick down a bubble. I think (I haven’t had to find out for sure yet as I have not had any missed bubbles that set) that the only way to fix such a bubble would be to grind the glass away in that section and apply a glass patch over it then have to fair that patch out somehow.


The plans call for a layer of glass to 100mm above the waterline and a layer of glass to 300mm below the waterline and then 2 tapes on each panel join, 1 x 150mm and 1 x 100mm. When Brett Schionning came to help me glass the first hull he suggested it would be better to lay a full width 1300mm sheet of glass each side of the hull butted to each other along the keel centre line which takes the glass to about 500mm above the waterline, then to run another full width sheet of glass over the hull centered on the keel which seals the keel and would then run to about 200mm below the waterline but importantly would cover every underwater chine. He then suggested that only one tape (the 150mm) would be needed over the panel joins. I agreed to this however because I had to remove the layer of bad bog I felt I may have touched the glass tapes here with the sharp chisel and may have damaged it here and there on the chines (I don’t think I did but I wanted to be sure) so I added the missing 100mm tapes on 3 of the chine turns that only had 1 unbroken layer of glass over them.
In order to remain consistent, I have glassed this hull the same way as the port hull ended up being so I taped each chine join with the 150mm and then gave the centre keel join the 100mm tape along with the chamfer and the corresponding chine on the outboard chine because they only had the one layer of glass added. So the minimum now is 3 layers of additional glass (there is already a layer of glass on the Duflex), with 4 at the keel join (the plans also call for 422g double bias but I have used 457g double bias). We wet the full sheets out on the hull but the tapes we ran through the wombat which saved a heap of time and probably some resin. The wombat pre squeegees the excess resin out so the only job you have with it is to ensure the tape is in good contact with the wet glass below and ensure there are no bubbles.
So the glassing is complete. I used 63 square meters of 457g per square meter double bias glass which means about 28 kgs of glass. This is prior to trimming and I probably trimmed about a meter or so in all. And I used 25 kilos of ADR resin. The ratio is supposed to be 1:1 by weight but I think that because I was wetting out onto still wet glass for all but the bottom layer slightly less resin was required, and I also cut some glass off and have overhanging glass that isn’t wet so I am fairly confident that the ration is pretty close. We didn’t weigh as we went on the first hull and I had an expert builder showing me how to wet out so I have no doubt that the port hull is spot on, and I followed his method on the starboard hull and am very confident that I have correctly wet the glass out fully the final 100mm tapes were not as saturated at the edges as the 150mm tapes but still were well wet out, it just meant I had some rough edges here and there but nothing the bog and sanding wont fix.
So now we are hoping for a good hard bog.


